
Greetings!
Today's card features the lovely Words & Wishes stamp and die bundle. This stamp set is filled with great sayings for birthdays and more! The background print and prints used for sentiment strip and gifts are from the Mixed Up Patterns Designer Series Paper(DSP)(Last Chance item - 20% off while supplies last).

Techniques include two step die cutting and stamping on DSP prints.
==============================================================================
Beverly's Tip of the Day
Double layer die cuts like these words can be a little tricky to get lined up.
The challenge is getting them to hold their shape while you're applying them to the outline layer. Leave the word in the die after die cutting. Use the piercing tip end of the Take Your Pick Tool, poke at the backing paper on an end of a word, gently lift the paper while keeping the cardstock inside the die. (Save a piece of adhesive sheet protective paper to use to hold down on die cut as you are removing the backing paper). When all the backing paper is removed, gently turn the die over, line it up over the background layer, press down. Using the piercing tip, gently press down on the cardstock through the little holes on the die to adhere the die cut word. Lift off the die, press down firmly on cardstock word to fully adhere.
It may take a little practice, but once you've done it, you'll find it's a great way to have successful results every time.
======================================================================
Gather Your Supplies:
- Words & Wishes bundle (Save 10% when you purchase stamp set & die with bundle item#)
- Basic White Thick cardstock
- card base 5-1/2 x 8-1/2 scored & folded at 4-1/4
- Barely Blush cardstock
- 4 x 3 word outline die cuts
- Strawberry Slush cardstock
- 4 x 3 word detail die cuts with adhesive sheet
- Mixed Up Patterns Designer Series Paper (DSP) (Last Chance item - 20% off while supplies last)
- 5-1/4 x 4 lines on Old Olive pattern
- 3-1/2 x 1/2 pink dots on white print - sentiment
- scraps for die cut gifts - pink dots on white and pink on pink geometric prints
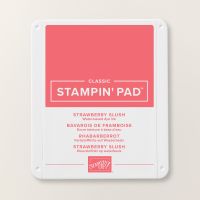
- Strawberry Slush Classic Stampin' Pad
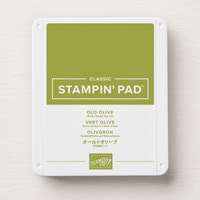
- Old Olive Classic Stampin' Pad
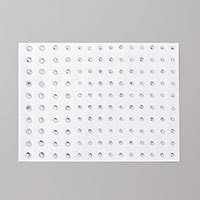
- Rhinestones Basic Jewels
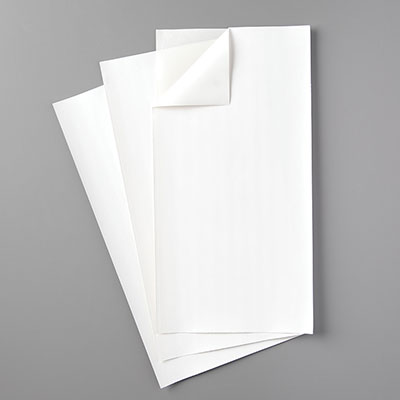
- Adhesive Sheets
- Stampin' Dimensionals
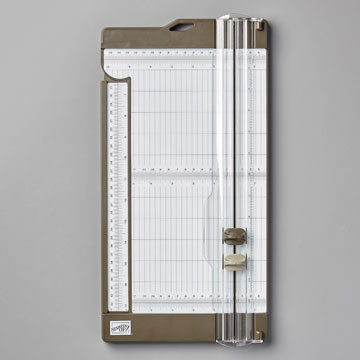
- Paper Trimmer
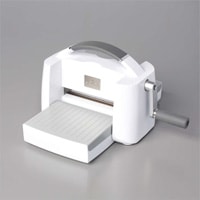
- Stampin' Cut & Emboss Machine

Die cut outline 'birthday' & 'wishes' from Barely Blush cardstock. Die cut detailed 'birthday' & 'wishes' from Strawberry Slush with adhesive sheets attached. Peel protective sheet off back of words, line up on Barely Blush outlined pieces, adhere. (See note in Beverly's tip of the day section)

Adhere Birthday and Wishes to card front, leaving room in between for sentiment strip.

Ink message with Strawberry Slush, stamp onto polka dot DSP, snip edges to angle. Adhere between die cut words with Stampin' Dimensionals.

Embellish with small and medium rhinestones.




Thanks for being here!
Let your creativity shine and have the best day!
😊
No comments:
Post a Comment