Monday, January 29, 2024

Everyday Details Softly Stippled Teacup Birthday Card

 Greetings!

The new Everyday Details stamp set has such great images for coloring in, and I fell in love with the sweet little teacup as soon as I saw this set.  I simply had to use it on a card! 

Since the teacup is fairly small I wanted to use a lovely print to compliment the vintage, teatime vibe and the Softly Stippled Designer Series Papers (DSP) has just the print to use for the background as well as being the inspiration for the color palette.  An extra bonus is that the dry-brushed print from this DSP is light enough to stamp right on it and gives a sweet, soft feel to the card.


The messages included with the Everyday Details stamp set are so uplifting that it had to be included on the front of the card.  Adding a simple "Happy Birthday" on the inside from the Go To Greetings stamp set is all it needed.

The book binding fun fold is such an easy way to give the card a little something extra, and also provides a perfect opportunity for some additional detail.  Embossing the Pretty Peacock cardstock gives texture to balance all the texture on the main body of the card, and the beautiful Pool Party ribbon compliments the sweetness of the teacup image.

Gather Your Supplies:

  • Everyday Details stamp set
  • Go To Greetings stamp set
  • Pool Party cardstock 
    • card base 4-1/4 x 11 scored at 5-1/2 and 6-3/4, folded at 5-1/2    
  • Pretty Peacock cardstock
    • 4 x 3/4
    • 4 x 1to be embossed for vertical side strip
  • Basic White cardstock
    • 4 x 3-3/4 for inside
  • Softly Stippled Designer Series Paper (FREE with a $50 purchase during Sale-a-bration)
    • 4 x 4 scattered white flowers on Pool Party print
    • 3-1/2 x 2-1/2 dry brushed gray/white print
  • Pretty Peacock Classic Stampin' Pad
  • Lost Lagoon Classic Stampin' Pad
  • Pool Party Classic Stampin' Pad
  • Pebbled Path Classic Stampin' Pad
  • Lemon Lime Twist Classic Stampin' Pad
  • Pool Party 3/8" Grosgrain ribbon - 12"
  • Blender Pens
  • Basics 3D embossing folder - crosshatch
  • Iridescent Pearls 
=============================================================
Product List

=============================================================
Here's How It's Made:

Ink teacup stamp with Pretty Peacock, stamp in lower left part of dry-brushed gray/white DSP print. 
 
To color with Blender Pens, squeeze center of  closed ink pads to transfer ink to inside of lid.  Open and brush Blender Pen tip onto ink, then brush onto image to color in.  Brush Blender Pen tip onto scratch paper or grid paper when finished with each color until color no longer appears on the paper, then it's ready for the next color.

Color as follows:
  • Lost Lagoon - shadow line areas on teacup and inside rim
  • Pool Party - flower
  • Pebbled Path - liquid in teacup
  • Pretty Peacock - band near top of teacup
  • Lemon Lime Twist - leaves

Ink "wishing you..." with Pool Party, stamp in upper right portion of DSP print.

Adhere front of card front to back from fold to 1-1/4 score line.  Adhere white flowers on Pool Party DSP print to 4-1/4 square card front, centering.  Adhere 3/4 x 4 Pretty Peacock cardstock piece 3/4" from bottom edge of DSP print.  Adhere dry brushed stamped DSP print on card front, leaving 1/4" of Pretty Peacock strip exposed at bottom, centering.


Emboss 4 x 1 Pretty Peacock cardstock piece with Crosshatch 3D embossing folder.  Adhere to card front, centering between fold and score line.

Tie Pool Party ribbon around card front and tie a knot, centering over embossed piece.  


Embellish center of flower, branch tips and sentiment with Iridescent Pearls.

Here's what the inside looks like:


Ink "Happy Birthday" and stamp onto Basic White panel.  Adhere to inside of card.

=============================================================

Essential Tools:

These are the tools I recommend  for a positive experience with all of your paper crafting projects.  Having the right tools makes every project go more smoothly from start to finish.

Product List

=============================================================
What's Sale-a-bration you ask?  

Sale-a-bration is the time of year when EVERYONE has the opportunity to earn FREE product!  For every $50 in purchased product you may select from the fabulous Sale-a-bration items for FREE.  These items include beautiful Designer Series Papers, adhesive-backed gems, stamp sets, dies, stamp set & die bundles and stamp set & embossing folder bundles.  Many of these products coordinate with items from the current annual and mini catalogs for even more creative options.


=============================================================

=============================================================

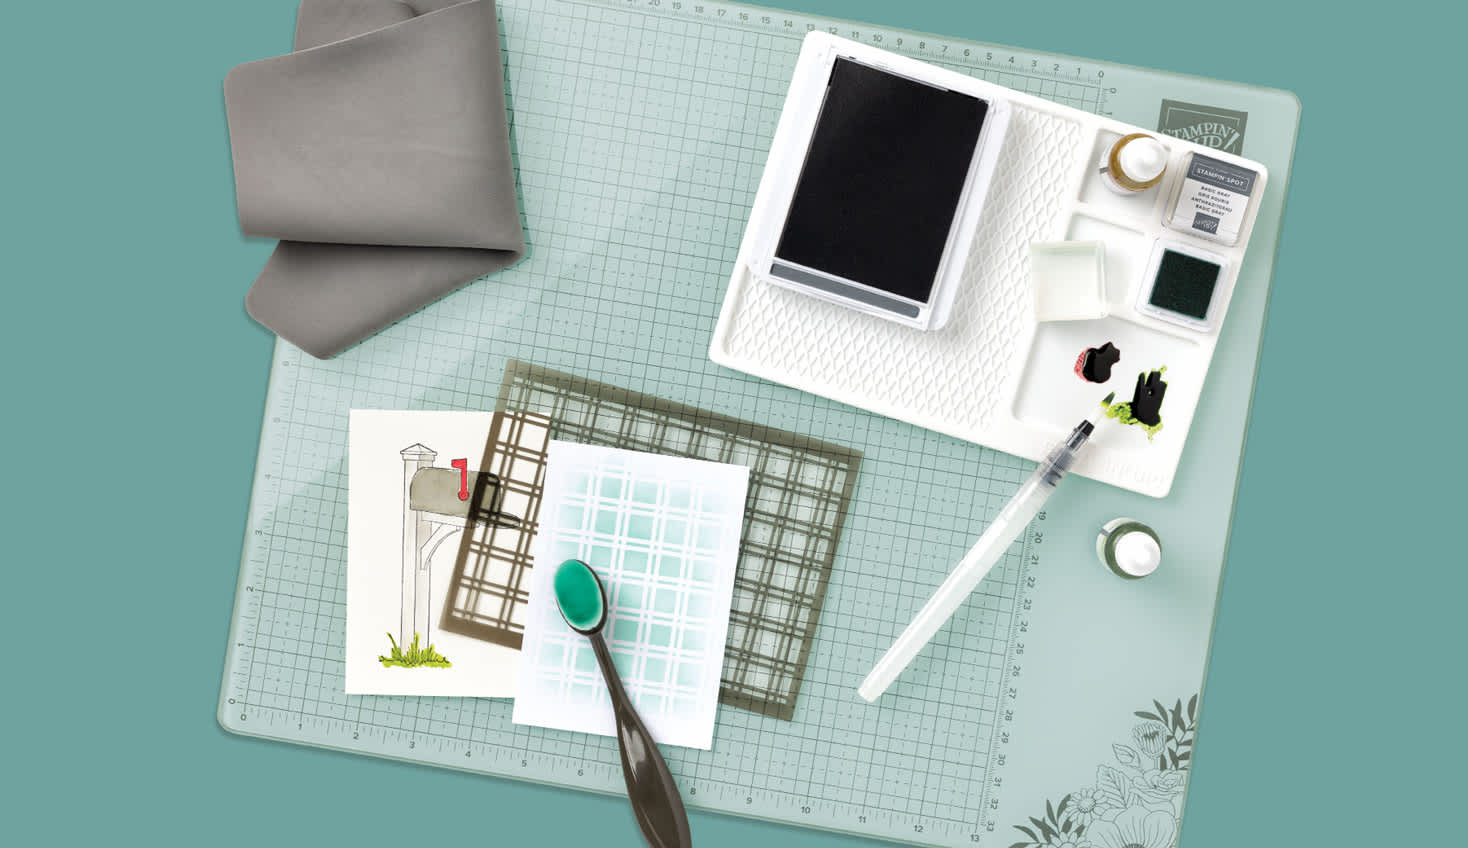
Sale-a-bration time is a fantastic time to join!  During Sale-a-bration you not only get to choose your Starter Kit of $125 in product for only $99, you get the added bonus of two choices: The Stampin' Glass Mat Studio (retail value $60) for FREE.  Includes 17" x 14" safety-tempered glass crafting mat, 8-3/8" x 6" nonslip, silicone mat and 8-1/4" x 8-1/4" reusable cleaning cloth.  


or an additional $30 in FREE product of your choice added to your Starter Kit.


I LOVE being a Stampin' Up! Demonstrator for a variety of reasons!  If you love stamping and sending cards, getting together with friends and being creative, want a way to reach out to your community, earn some money doing something you love, or any combination of these things, and more, now is a great time to join! 

I am a member of Dawn Olchefske's DOStampers STARS community, so when you join my team, you are also part of this fabulous community where we share inspiration, creativity, support and education, as well as a whole new group of crafting friends!
=============================================================


=============================================================


January Host Code:  J7RVZJRS

  • Place an online order of $65 or more (before tax/shipping) and earn a FREE Gift                        (FREE Gift sent by February 15th)
  • For orders of $150 or more in my store (before tax/shipping), do not apply the Host Code.  Use the Stampin' Rewards you will earn.  You will receive the Host code gift from me.
  • One Host code gift per customer, per month.

=============================================================

Thank you so much for stopping by!  I hope you're inspired to gather your supplies and get creative!  

Have a beautiful day!  😊  
Beverly J
Saturday, January 27, 2024

#DOswts427 - Love Inspiration Hop - Country Bouquet Alphabet A' La Mode Love Card


Greetings!

The season of love is here!  Walk in any store right now and you will see displays with many reminders of the upcoming Valentine's holiday.  Hearts, flowers, chocolates, Cupids, etc.  It's the perfect time to send a handmade card to those who hold a special place in our heart.

When trying to decide what to use for making this love themed card I knew I wanted hearts and the word "love".  The Country Bouquet stamp set has a variety of hearts in all different shapes and sizes, so that's where I started.  The biggest heart in the set is a bouquet of hearts and flowers that is created with two stamps.  The fun of a two-step stamp like this is building your image with different ink colors. By using Sponge Daubers you can add even more color to each stamp as I did for this card.  


I knew I wanted the word "love" on the card, but the words and messages from the Country Bouquet stamp set weren't big enough.  I liked the heart panel being square so I shortened the card base a 4-1/4" square card front, leaving the back card panel exposed. This exposed edge provides the perfect space for the word "love" to be spelled vertically.  The Alphabet A' La Mode die set has letters that are thin enough to overlap and provide a fun way to add "love" to the card.

After finishing the front of the card I had to find the perfect message for inside and the Perennial Postage stamp set had just what it needed.

Gather Your Supplies:

  • Country Bouquet stamp set
  • Perennial Postage stamp set
  • Alphabet A' La Mode dies
  • Fresh Freesia cardstock 
    • card base 9-3/4 x 4-1/4, scored and folded at 4-1/4
  • Basic White cardstock
    • 3 x 3
    • 4 x 4 for inside panel
    • 2-1/4 x 4-1/4  for alphabet die cuts
  • Bubble Bath cardstock
    • 4 x 2
  • Soft Sea Foam cardstock
    • 3-1/8 x 3-1/8
  • Bubble Bath Classic Stampin' Pad
  • Fresh Freesia Classic Stampin' Pad
  • Granny Apple Green Classic Stampin' Pad
  • Shaded Spruce Classic Stampin' Pad
  • Sponge Daubers
  • Adhesive Sheets - 2 x 4 piece
  • Petal Pink Pastel adhesive-backed sequins
=============================================================
Product List

=============================================================
Here's How It's Made:

Ink hearts and flowers large stamp with Bubble Bath.  Ink sponge dauber with Fresh Freesia and daub onto some of the flowers, stamp onto Basic White cardstock. Ink leafy large stamp with Granny Apple Green.  Ink sponge dauber with Shaded Spruce and daub onto some of the leaves, line up stamp to fill in the gaps of the hearts and flowers and stamp.  


Adhere Adhesive Sheet piece to 2-1/4 x 4-1/4 piece of Basic White cardstock.  Die cut L, O, V ,E with adhesive side down.  Peel protective layer off back of letters and adhere to right inside edge as shown:


Adhere Bubble Bath cardstock to Fresh Freesia folded card front, centering.  Adhere stamped heart panel to Soft Sea Foam cardstock, adhere to card front, centering over Bubble Bath piece.


Embellish with a couple small Petal Pink adhesive-backed sequins in lower right corner of stamped panel.

Here's what the inside looks like:


Ink "you are loved beyond measure" with Fresh Freesia, stamp onto Basic White cardstock panel.

Ink small flower cluster with Bubble Bath, sponge daub a little of the flowers and hearts with Fresh Freesia, stamp in upper left, repeat, stamp in lower right. Adhere panel to inside of card.

I hope you enjoyed this stop on your blog hop. 


=============================================================

Essential Tools:

These are the tools I recommend  for a positive experience with all of your paper crafting projects.  Having the right tools makes every project go more smoothly from start to finish.

Product List

=============================================================
What's Sale-a-bration you ask?  

Sale-a-bration is the time of year when EVERYONE has the opportunity to earn FREE product!  For every $50 in purchased product you may select from the fabulous Sale-a-bration items for FREE.  These items include beautiful Designer Series Papers, adhesive-backed gems, stamp sets, dies, stamp set & die bundles and stamp set & embossing folder bundles.  Many of these products coordinate with items from the current annual and mini catalogs for even more creative options.


=============================================================

=============================================================

Sale-a-bration time is a fantastic time to join!  During Sale-a-bration you not only get to choose your Starter Kit of $125 in product for only $99, you get the added bonus of two choices: The Stampin' Glass Mat Studio (retail value $60) for FREE.  Includes 17" x 14" safety-tempered glass crafting mat, 8-3/8" x 6" nonslip, silicone mat and 8-1/4" x 8-1/4" reusable cleaning cloth.  


or an additional $30 in FREE product of your choice added to your Starter Kit.


I LOVE being a Stampin' Up! Demonstrator for a variety of reasons!  If you love stamping and sending cards, getting together with friends and being creative, want a way to reach out to your community, earn some money doing something you love, or any combination of these things, and more, now is a great time to join! 

I am a member of Dawn Olchefske's DOStampers STARS community, so when you join my team, you are also part of this fabulous community where we share inspiration, creativity, support and education, as well as a whole new group of crafting friends!
=============================================================


=============================================================


January Host Code:  J7RVZJRS

  • Place an online order of $65 or more (before tax/shipping) and earn a FREE Gift                        (FREE Gift sent by February 15th)
  • For orders of $150 or more in my store (before tax/shipping), do not apply the Host Code.  Use the Stampin' Rewards you will earn.  You will receive the Host code gift from me.
  • One Host code gift per customer, per month.

=============================================================

Thank you so much for stopping by!  I hope you're inspired to gather your supplies and get creative!  

Have a beautiful day!  😊  
Beverly J