Greetings!
Today's card features a REVERSIBLES™ stamp set. I have admired them but had never purchased them or used them before so this is a new experience. The stamp set I'm referring to is Planted Paradise from the Jan - April 2024 mini catalog. I'm a huge fan of all things botanical so I had to give this set a try. REVERSIBLES™ stamp sets are designed to use both sides of each stamp. One side produces a solid shape and the flip side produces the detail. They are asymmetrical so the two sides will have a bit of an offset to the shape and that's the fun of it. It removes the need to try and line them up perfectly.
As the name Planted Paradise indicates, the images are a large assortment of leaves and greenery as well as planters to build the arrangement in. It took me a bit of time to get the arrangement figured out and it was worth the time.
This type of stamp set does take a bit of concentration when creating your masterpiece. The stamps are Photopolymer which makes it easy to see where you are stamping, however, it can be a bit challenging to see which side is facing up at times. I stamped all of the underlying images in Soft Sea Foam, then flipped the stamps over and stamped the detailed images in a variety of greens. There was more than once that I thought I had the stamp flipped over to the detailed side only to stamp it and realize I had not, so I'm sharing my experience to help you. Double check you have the right side up before you stamp :).
The planter is such an awesome size and has beautiful detail to it. I opted to modify the detail by layering the Natural Wavy Trim on the Garden Green ribbon. Fussy cutting the planter out and adding the ribbons gives the planter the depth needed so the plants appear to be inside it.
Gather Your Supplies:
- Planted Paradise stamp set
- Go To Greetings stamp set
- Pecan Pie cardstock
- card base 4-1/4 x 11 scored & folded at 5-1/2 OR 5-1/2 x 8-1/2 scored & folded at 4-1/4
- Crumb Cake cardstock
- Very Vanilla cardstock
- Pecan Pie Classic Stampin' Pad
- Soft Sea Foam Classic Stampin' Pad
- Garden Green Classic Stampin' Pad
- Mossy Meadow Classic Stampin' Pad
- Shaded Spruce Classic Stampin' Pad
- Pretty Peacock Classic Stampin' Pad
- Garden Green 3/8" ribbon - 5"
- Natural 1/4" wavy trim - 5"
- Brilliant Backgrounds dies
- Blooming Pearls - Garden Green, Gold and Pretty Peacock
=============================================================
Product List
=============================================================
Here's How It's Made:
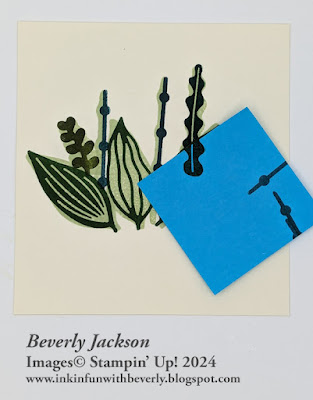
Select your stamps to create your assortment. Apply to block(s) with solid backside exposed. Ink with Soft Sea Foam, stamp each piece. Here's how my arrangement looks in step 1:
Clean all your stamps, and flip them to the detailed side. You may notice that some of the images are stamped multiple times to create the plant, and some are masked so they don't overlap.
I used Garden Green for the large single leaves, Shaded Spruce for the tall wavy plant, Mossy Meadow for the smaller rounded leaf plants, and Pretty Peacock for the tall thin pieces. Again, I placed a sticky note over some of the stamped greenery so the pieces don't overlap.
Place Brilliant Backgrounds wavy lined die on top of stamped area, with bottom extending below plants, and emboss.
Ink "Hello" with Garden Green and stamp in lower right corner of Very Vanilla cardstock.
Ink largest planter with Pecan Pie, stamp onto Crumb Cake cardstock. Fussy cut.
Apply Stampin' Seal adhesive on planter directly below zigzag detail. Apply adhesive on backside of planter at same height. Adhere Garden Green ribbon on front and wrap ends around back and secure on adhesive. Apply another line of adhesive on backside over Garden Green ribbon and wrap Natural 1/4" Wavy Trim around, secure.
Apply Stampin' Dimensionals to back of planter below ribbons and use an edge strip above the ribbon, adhere at bottom of greenery.
Adhere Very Vanilla completed panel to Pecan Pie folded card base.
Embellish greenery with Gold, Garden Green and Pretty Peacock Blooming Pearls.
A funny little note! After I finished this card, I opened the catalog to the page the stamp set is pictured on and realized the tall stem that I embellished with the Garden Green and Pretty Peacock pearls is shown in the catalog as the hangers for hanging planters. Oh well! I thought they made great stems in my arrangement. Haha!
=============================================================
Essential Tools:
These are the tools I recommend for a positive experience with all of your paper crafting projects. Having the right tools makes every project go more smoothly from start to finish.
Product List
=============================================================
What's Sale-a-bration you ask?
Sale-a-bration is the time of year when EVERYONE has the opportunity to earn FREE product! For every $50 in purchased product you may select from the fabulous Sale-a-bration items for FREE. These items include beautiful Designer Series Papers, adhesive-backed gems, stamp sets, dies, stamp set & die bundles and stamp set & embossing folder bundles. Many of these products coordinate with items from the current annual and mini catalogs for even more creative options.
=============================================================
=============================================================
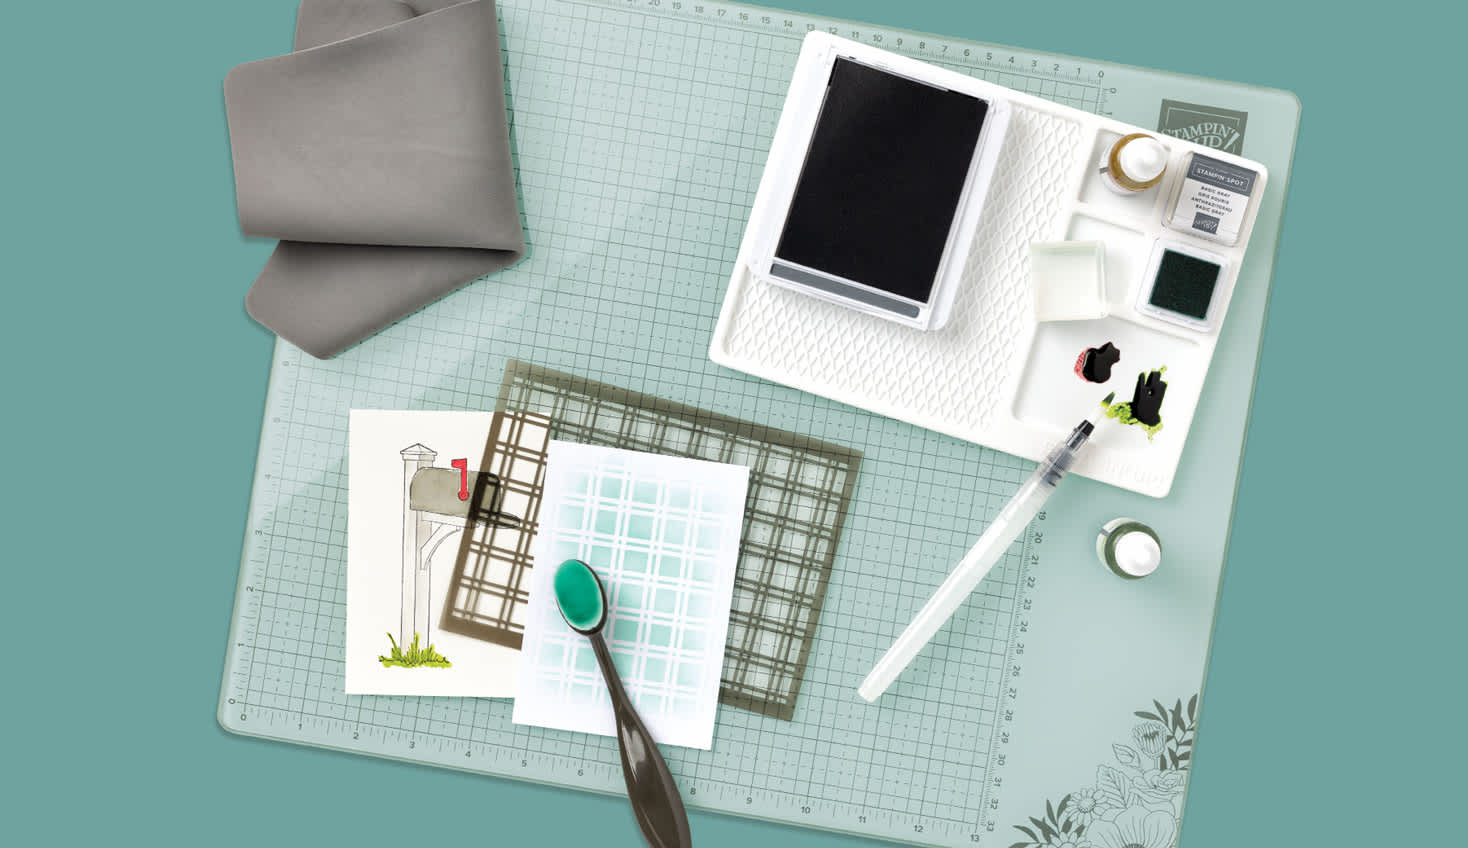
Sale-a-bration time is a fantastic time to join! During Sale-a-bration you not only get to choose your Starter Kit of $125 in product for only $99, you get the added bonus of two choices: The Stampin' Glass Mat Studio (retail value $60) for FREE. Includes 17" x 14" safety-tempered glass crafting mat, 8-3/8" x 6" nonslip, silicone mat and 8-1/4" x 8-1/4" reusable cleaning cloth.
or an additional $30 in FREE product of your choice added to your Starter Kit.
I LOVE being a Stampin' Up! Demonstrator for a variety of reasons! If you love stamping and sending cards, getting together with friends and being creative, want a way to reach out to your community, earn some money doing something you love, or any combination of these things, and more, now is a great time to join!
I am a member of Dawn Olchefske's DOStampers STARS community, so when you join my team, you are also part of this fabulous community where we share inspiration, creativity, support and education, as well as a whole new group of crafting friends!
=============================================================
=============================================================
January Host Code: J7RVZJRS
- Place an online order of $65 or more (before tax/shipping) and earn a FREE Gift (FREE Gift sent by February 15th)
- For orders of $150 or more in my store (before tax/shipping), do not apply the Host Code. Use the Stampin' Rewards you will earn. You will receive the Host code gift from me.
- One Host code gift per customer, per month.
=============================================================
Thank you so much for stopping by! I hope you're inspired to gather your supplies and get creative!
Have a beautiful day! 😊
Beverly J


No comments:
Post a Comment