
Greetings!
Today's card features the Scalloped Blooms dies. This die set is a must have! With so many scalloped circle sizes, the versatility is vast. On this card they are featured in the flowers, the background panel and also the message piece. With a few additional shapes included in this set, there are even more ways they can enhance your project.

The patterned pops of color are compliments of the Creative Celebrations Mix & Match Specialty Designer Series Paper (DSP) and the background piece is from the Wood Grain Wonders DSP. A simple variation on a standard card is to cut off the right edge by 1/2" so the two horizontal strips extend over the front edge. Such a quick way to add a little something extra to your card.
This card was CASEd from a sample on pg 41 of the Sept-Dec 2026 catalog.
==============================================================================
Beverly's Tip of the Day
When lacking inspiration my first go to is always the Stampin' Up!® catalog. With all the techniques and layouts featured, it's the first place I look. I know all the products shown are current and orderable and the colors are current. Whether it's an interesting color combination I may never thought of, a combination of techniques that's new or some other eye-catching design, this catalog is meant to inspire. Besides all the samples shown, there are also templates shown at the bottom of page 13, and a QR code to scan to see even more ideas. Whether you are looking at the catalog online or have it in your hands, remember it's a resource for much more than simply shopping.
======================================================================
Gather Your Supplies:
- Nature's Symphony stamp set
- Scalloped Blooms dies (Save 15% October 21-23 during FLASH sale)
- Basic White Thick cardstock
- card base 5-1/2 x 8 scored & folded at 3-3/4
- Hydrangea Hue cardstock
- 5-1/2 x 3-1/2 for 6 die cut flowers
- Real Red cardstock
- 4 x 3/4
- Peaceful Pine cardstock
- 2-3/4 x 1-1/2 for die cut leaves & stems
- Basic White cardstock
- 2-1/2 scalloped circle die cut
- Wood Grain Wonders Designer Series Paper (DSP)
- 5 x 3-3/4 second lightest woodgrain print for partial large circle die cut
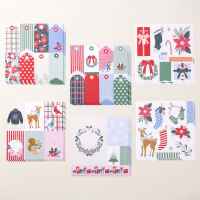
- Creative Celebrations Specialty Designer Series Paper (DSP)
- plaid tag - cut in 1/2" strips (details shown below in instructions)
- red with tiny dots tag - die cut circles for flower centers
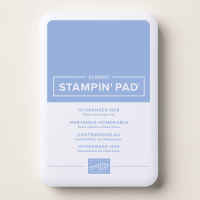
- Hydrangea Hue Classic Stampin' Pad
- Real Red & White Baker's Twine
- Stampin' Dimensionals
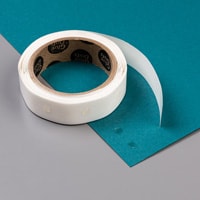
- Mini glue dots
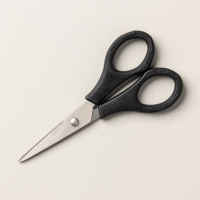
- Detail Scissors
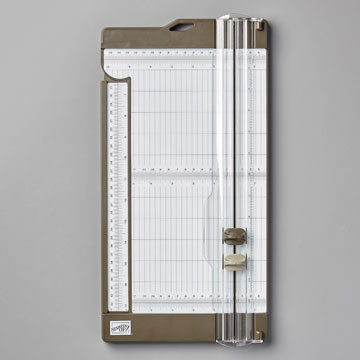
- Paper Trimmer
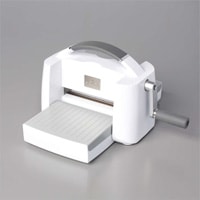
- Stampin' Cut & Emboss Machine


Die cut 6 1-1/2" scalloped circles from Hydrangea Hue cardstock. Using Detail Scissors, cut 1/4" in towards center between each petal on three of the die cuts. For more dimension to individual petals, curl slightly with bone folder edge. Die cut leaves from Peaceful Pine cardstock. Cut three 2-3/4 x 1/8 stems from Peaceful Pine cardstock.

Adhere flowers with slits onto solid flowers, twisting so petals show between top layer, adhere DSP circles to centers with Stampin' Dimensionals. Adhere 'stems' at left side of sentiment scalloped circle, with bottoms staggered in length. Adhere flowers at top of stems.

Adhere leaves to stems using Mini glue dots. Tie two strands of Baker's Twine into bow, adhere at lower right of sentiment.






Thanks for being here!
Let your creativity shine and have the best day!
😊
No comments:
Post a Comment