Greetings!
Every season has it's own beauty, but I have to say, it sure is nice to have the warmth that comes with summer. If you happened to read my most recent blog post, you know I referred to a card template that had layered circles. This card actually uses the layered circles template that began my inspiration for the last card. Funny how those things work. 😊
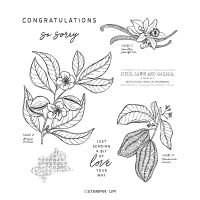
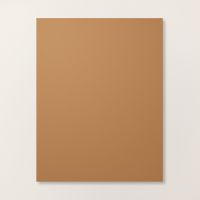
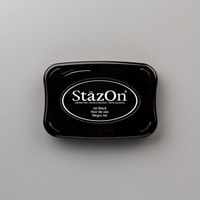
For the past couple weeks I've had a piece of embossed Pecan Pie cardstock sitting on my crafting table waiting to be part of a card. My next question was what would be a good image to use inside a circle and fit with the embossed piece. The seed pod/leaf stamp from the Lovely & Sweet stamp set fit the requirements I was searching for. It's a large detailed image, making it a great candidate to use a watercolor wash technique with. Fearing the watercolor paper was a bit too textured to get a nice solid image, I opted to use the Basic White Thick cardstock. This cardstock is a great alternative because it can withstand water without pilling and shredding. As with any paper when it gets wet, it does curl a bit, but flattens when dry. The other must have when water coloring is the Stazon ink. It's a solvent ink, so it won't bleed, and the details and fine lines in the image maintain their crispness. Now, for the reveal.

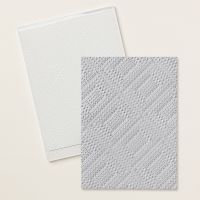
Don't you love the circles cut off on the side! It gives it a completely different look than it would if they were full circles centered on the card. It also gives that gorgeous textured background a chance to shine. When I saw the Dashing Designs 3D embossing folder in the catalog, I was not excited about it at all. Then I saw it at my friends house, and my mind completely changed. I LOVE the texture of this embossing folder!
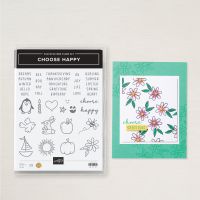
The final decision was what to use for a sentiment. I knew I wanted to keep it simple. One of the stamp sets introduced this year is Choose Happy, which is filled with individual words for you to create your own sentiments, so "happy summer" is my wish for you today.
Gather Your Supplies:
- Lovely & Sweet stamp set
- Choose Happy stamp set
- Deckled Circles dies (online exclusive)
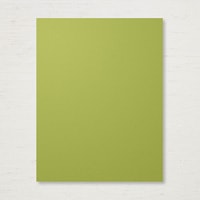
- Old Olive cardstock
- card base 4-1/4 x 11 scored & folded at 5-1/2 OR 5-1/2 x 8-1/2 scored & folded at 4-1/4
- 4-1/4 x 4-1/4
- 1-1/2 x 1-1/2
- Pecan Pie cardstock
- Basic White Thick cardstock
- Basic Black cardstock
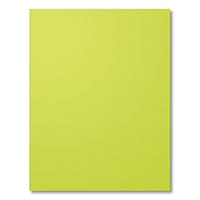
- Lemon Lime Twist cardstock
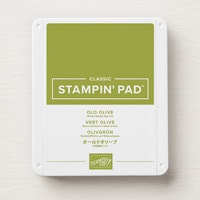
- Old Olive Classic Stampin' Pad
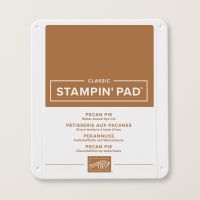
- Pecan Pie Classic Stampin' Pad
- Tuxedo Black Memento Ink Pad
- Jet Black Stazon Ink Pad
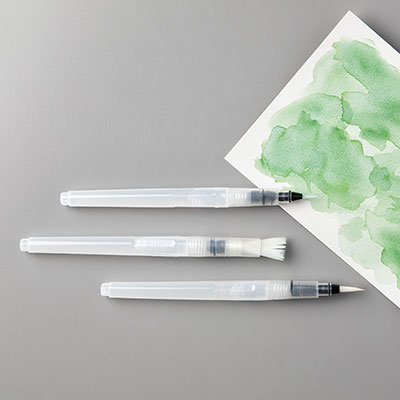
- Water Painters
- Dashing Designs 3D embossing folder
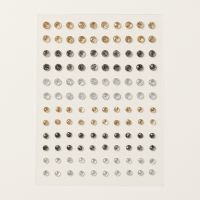
- Adhesive-backed Sparkle Gems
- Stampin' Cut & Emboss Machine
=============================================================
Product List
=============================================================
Here's How It's Made:
Ink pod/leaf image with Stazon Ink, stamp onto Basic White Thick cardstock.
Squeeze Pecan Pie ink pad top to bottom to transfer ink onto lid. With wide flat water painter, squeeze until brush is wet, then brush onto ink to gather onto brush. Test color on scrap paper, then brush over pod portion of image. Clean brush by wiping on scratch paper until clear. Repeat process with Old Olive ink, brush over leaf portion of image. Allow to dry, or use low setting on heat tool to dry. (Cardstock will curl when wet, but flattens out upon drying)
Emboss Pecan Pie cardstock panel.
Die cut stamped image with 3-1/2 circle die. Die cut Old Olive cardstock with 3-3/4 circle. Adhere white circle to Old Olive circle. Adhere to Pecan Pie panel with circle extending beyond left edge. Cut off extension so left side is at left edge of embossed panel, adhere to Old Olive folded card front.
Ink Happy and Summer with Memento Ink, stamp onto Lemon Lime Twist cardstock. Fussy cut around "happy" and cut close to edges around "summer". Die cut Old Olive & Basic Black 1-3/8 circles. Adhere words to Old Olive circle, adhere Basic Black circle so it extends below and right of Old Olive Circle. Adhere to seed pod directly below leaf.
Embellish with small and large black sparkle gems.
=============================================================
Essential Tools:
These are the tools I recommend for a positive experience with all of your paper crafting projects. Having the right tools makes every project go more smoothly from start to finish.
=============================================================
=============================================================
If you've ever thought it would be fun to get great products at a discount, inspire others, be part of a crafting community and more, I encourage you to check out the benefits of being a Stampin' Up Demonstrator. Whether you want it as a hobby, a chance to have an easy store at your fingertips for you and your friends, or want to build a business, the decision is yours. Click on the button below to find out more.
I am a member of Dawn Olchefskes' DOStampers STARS community, so when you join my team, you are also part of this fabulous community where we share inspiration, creativity, support and education!
=============================================================
=============================================================
- Place an online order of $75 or more (before tax/shipping) and earn a FREE Gift (FREE Gift sent by August 15th)
- For orders of $150 or more in my store (before tax/shipping), do not apply the Host Code. Use the Stampin' Rewards you will earn. You will receive the Host code gift from me.
- One Host code gift per customer, per month.
=============================================================
Thank you so much for stopping by! I hope you're inspired to gather your supplies and get creative!
Have a beautiful day! 😊
Beverly J







No comments:
Post a Comment