Greetings!
As I was scrolling through cards made by my stampin' sisters today, I saw a beautiful card made by my friend Cathy Peck. She had inked the embossed layer, then added a simple sentiment on a label with some Linen Thread wrapped around part of the label. It was gorgeous! So gorgeous that I had to CASE (Copy And Share Everything) it.
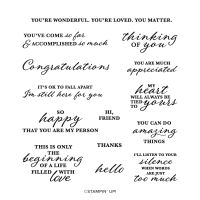
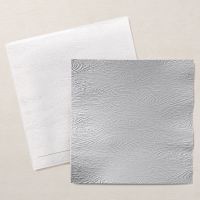
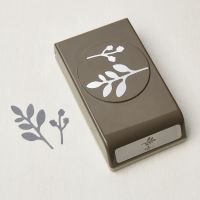
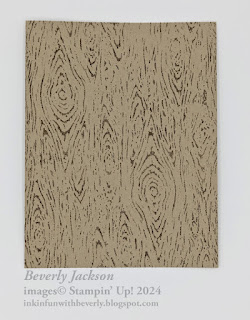
I opted to use the Timber 3D embossing folder, as I knew the woodgrain would show up really well when inked, and then I just needed a message. The Wonderful Thoughts stamp set has a message that I just love, so I decided this was the perfect card to use it with. To add a little pizzazz to the label, I wanted some sort of greenery, and the Bough Punch provides the perfect sized accent. Here's how it all came together.

Doesn't it look great! Coloring the raised woodgrain on the embossing folder is so easy with the Stampin' Brayer. All you have to do is roll the brayer over the ink pad until the brayer is covered, then roll over the embossed piece. I rolled over it about three times to get it nice and evenly inked, and love the way it looks. Even though I used the Crumb Cake ink, it looks quite a bit darker, so pulling in Early Espresso for a mat layer and for the leafy stem brings in a nice contrast. The simplicity of wrapping twine around the label to the left of the sentiment is such a great touch. I loved this card so much, I immediately made a second one.
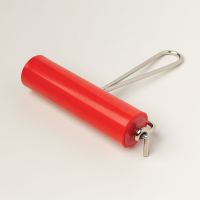
If you haven't purchased the brayer, or were wondering how to use it, this is a great way to get you started. The brayer is wide enough to cover the entire 4-1/4" width of a card front, so you don't have to worry about having noticeable areas that aren't inked the same as the rest. Since Stampin' Up!'s embossing folders have such nice raised designs to them, it's easy to use the brayer and only ink the parts you want to.
Did you get some great products in the month of July and earn $5 coupon(s)? Remember to redeem them this month towards your purchase. Every little bit helps and since these coupons are only good for the month of August, make sure to use them while you can. Happy shopping!
Gather Your Supplies:
- Wonderful Thoughts stamp set
- Timber 3D embossing folder
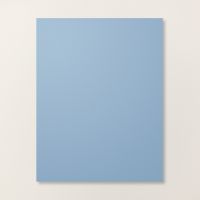
- Boho Blue cardstock
- card base 4-1/4 x 11 scored & folded at 5-1/2 OR 5-1/2 x 8-1/2 scored & folded at 4-1/4
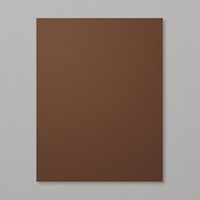
- Early Espresso cardstock
- 5-1/4 x 4 panel
- 2-1/2 x 1-1/4
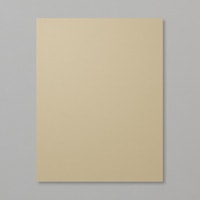
- Crumb Cake cardstock
- 5 x 3-3/4
- 3 x 1-5/8 for label
- 1-1/2 x 3/4
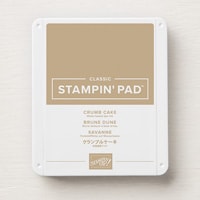
- Crumb Cake Classic Stampin' Pad
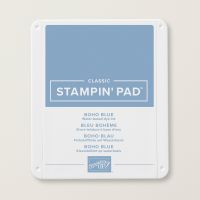
- Boho Blue Classic Stampin' Pad
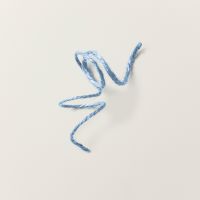
- Boho Blue Jute Trim - 16"
- Bough Punch
- Stampin' Brayer
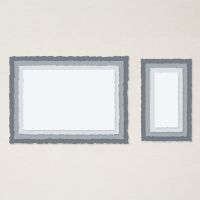
- Deckled Rectangle dies
- Stampin' Cut & Emboss Machine
=============================================================
Product List
=============================================================
Here's How It's Made:
Emboss Crumb Cake cardstock panel with Timber 3D embossing folder. Ink Brayer with Crumb Cake cardstock and roll over embossed cardstock to color raised grain.
Adhere to Early Espresso cardstock panel, adhere to Boho Blue folded card front.
Ink sentiment with Boho Blue, stamp onto Crumb Cake cardstock near right edge, die cut with second smallest Deckled Rectangle die. Apply adhesive to backside of left side of label, adhere end of Boho Blue Jute Trim to adhesive, wrap around label five times, securing end on back. Using Bough Punch, punch leafy stem from Early Espresso, and 3-bud stem from Crumb Cake cardstock.
Adhere Early Espresso leafy stem on upper left of embossed panel, adhere bud stem on lower part of leafy stem. Adhere label over stems of punched pieces, with Stampin' Dimensionals.
=============================================================
Essential Tools:
These are the tools I recommend for a positive experience with all of your paper crafting projects. Having the right tools makes every project go more smoothly from start to finish.
=============================================================
=============================================================
If you've ever thought it would be fun to get great products at a discount, inspire others, be part of a crafting community and more, I encourage you to check out the benefits of being a Stampin' Up Demonstrator. Whether you want it as a hobby, a chance to have an easy store at your fingertips for you and your friends, or want to build a business, the decision is yours. Click on the button below to find out more.
I am a member of Dawn Olchefskes' DOStampers STARS community, so when you join my team, you are also part of this fabulous community where we share inspiration, creativity, support and education!
=============================================================
=============================================================
August Host Code: 6NGWUZ6N
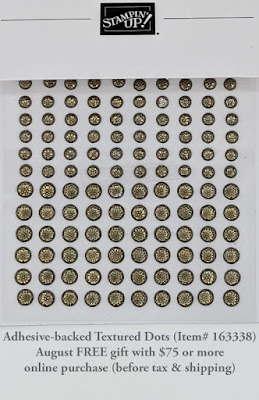
- Place an online order of $75 or more (before tax/shipping) and earn a FREE Gift (FREE Gift sent by August 15th)
- For orders of $150 or more in my store (before tax/shipping), do not apply the Host Code. Use the Stampin' Rewards you will earn. You will receive the Host code gift from me.
- One Host code gift per customer, per month.
=============================================================
Thank you so much for stopping by! I hope you're inspired to gather your supplies and get creative!
Have a beautiful day! 😊
Beverly J





No comments:
Post a Comment