Greetings!
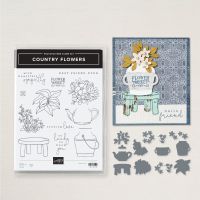
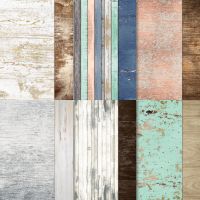
I'm excited to share another technique using multiple prints from a pack of Designer Series Paper (DSP). Today I chose the Country Woods DSP and the Country Flowers stamp & die bundle. This technique is called stack & shuffle because you choose three prints, stack them together, cut them into a 5-1/4 x 4 panel, then cut them into three pieces, however you choose. You then take one piece from each of the three prints to create your panel, so you will have three panels with three prints, each print in a different location on each panel. Here's a picture of all three so you can see what I mean.

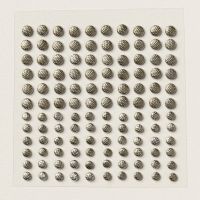
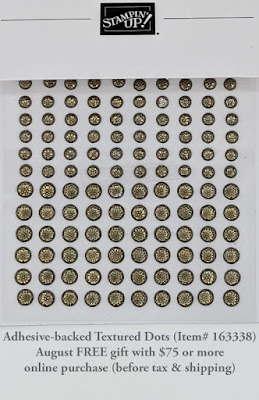
Aren't they fun! Once you have your prints selected and cut, you are ready to decorate them. The Country Flowers bundle is part of the Country Woods Suite Collection, so it has the perfect images to use with these distressed wood prints. I selected a fourth print to use for the little stool and a fifth print for the sentiment. The fun new adhesive-backed textured dots are small enough to work perfectly at the upper corners of the sentiment so it looks like it's tacked to the wood.
For the plant I used a watercolor wash on the watercolor paper to give it less color saturation than stamping on colored cardstock would. It feels very organic.
This Country Woods Designer Series Paper is one of the many selections you can choose from this month to get at 15% off. If you made a purchase last month and earned Bonus Day Coupons, you need to use those this month also. This is the perfect time to stock up on those DSP packs you've been looking at and redeem your coupons for an even bigger discount on your purchase. Both of these promotions end August 31st, so use them before you lose them. 😁
Gather Your Supplies:
- Country Flowers Bundle (Save 10% when you purchase stamp set & die with bundle item#)
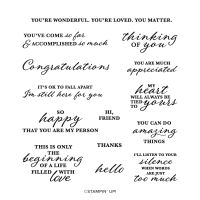
- Wonderful Thoughts stamp set
- Basic White Thick cardstock
- card base 4-1/4 x 11 scored & folded at 5-1/2 OR 5-1/2 x 8-1/2 scored & folded at 4-1/4
- Basic White cardstock
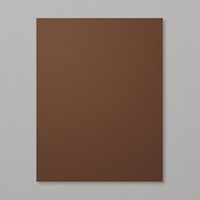
- Early Espresso cardstock
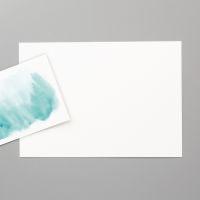
- Watercolor Paper
- Country Woods Designer Series Paper (15% off through August 31)
- 5 x 4-1/4 choose three different prints
- 2-1/4 x 1-1/2 for stool
- 1-1/4 x 3/4 for sentiment
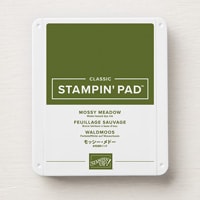
- Mossy Meadow Classic Stampin' Pad
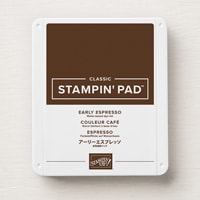
- Early Espresso Classic Stampin' Pad
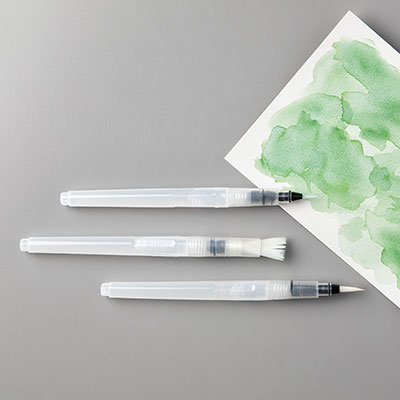
- Water Painters
- Adhesive-backed Textured Dots
- Stampin' Cut & Emboss Machine
=============================================================
Product List
=============================================================
Here's How It's Made:
Stack the three DSP prints on top of one another, cut into three separate pieces. Here's how I cut mine:
Create card front panels by selecting one portion from each of the three prints. Adhere to Basic White Thick folded card front, without any gap between pieces.
NOTE: The measurements shown in the Gather Your Supplies section for the various pieces (other than the panel) are listed for each individual item. If you'd like to make all three cards the same, as I did, then triple the length or width of each piece so you'll have enough to do three of everything.
Ink stool stamp with Early Espresso, stamp onto a 4th print from the DSP pack, die cut. Die cut pail from Basic White cardstock, two-handled band from Early Espresso cardstock.
Squeeze Mossy Meadow closed ink pad to transfer some ink onto cover. Using Watercolor wide tipped brush, squeeze brush handle to wet bristles, brush onto Mossy Meadow ink on ink pad lid. Making sure brush tip is nice and wet, brush onto Watercolor Paper back and forth. Allow to dry. Ink leafy stamp with Mossy Meadow, stamp onto watercolor washed paper, die cut.
Adhere Early Espresso band to pail, lining up handle. Adhere stool onto lower left portion of card front, adhere pail onto stool top, adhere plant at top of pail.
Ink sentiment with Early Espresso, stamp onto small wood print. Adhere in upper right of card front.
Embellish with Textured Dots at upper corners of sentiment label.
=============================================================
Essential Tools:
These are the tools I recommend for a positive experience with all of your paper crafting projects. Having the right tools makes every project go more smoothly from start to finish.
=============================================================
=============================================================
If you've ever thought it would be fun to get great products at a discount, inspire others, be part of a crafting community and more, I encourage you to check out the benefits of being a Stampin' Up Demonstrator. Whether you want it as a hobby, a chance to have an easy store at your fingertips for you and your friends, or want to build a business, the decision is yours. Click on the button below to find out more.
I am a member of Dawn Olchefskes' DOStampers STARS community, so when you join my team, you are also part of this fabulous community where we share inspiration, creativity, support and education!
=============================================================

=============================================================
August Host Code: 6NGWUZ6N
- Place an online order of $75 or more (before tax/shipping) and earn a FREE Gift (FREE Gift sent by September 15th)
- For orders of $150 or more in my store (before tax/shipping), do not apply the Host Code. Use the Stampin' Rewards you will earn. You will receive the Host code gift from me.
- One Host code gift per customer, per month.
=============================================================
Thank you so much for stopping by! I hope you're inspired to gather your supplies and get creative!
Have a beautiful day! 😊
Beverly J






No comments:
Post a Comment