Greetings!
Today I'm sharing a technique I've long admired and never attempted. I think the look is stunning and I'm so glad I finally gave it a try. The biggest challenge was finding the right print to do it with and after a bit of trial and error I'm really happy with how it turned out.
This technique is called the drapery fold technique. It begins with a piece of Designer Series Paper (DSP) that prints on both sides that work well together. Then it's a matter of cutting the piece at an angle, incremental scoring, then folding back and forth at the score lines to create pleats so the print on the opposite side of the paper peeks out at the bottom of each pleat. Now that I've tried it, I can't wait to do more of these with different papers.

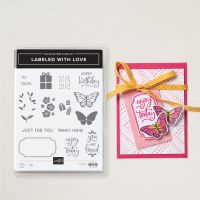
Isn't it beautiful! The Perennial Lavender DSP is about the only one I have on hand right now that had a print that worked for this technique. My other papers either had prints that were too large or the flip side didn't have a color that worked well with the side I wanted. It took me a while to decide where I wanted the sentiment, and how I wanted to decorate the area above the drapery print piece. The sentiment from the Labeled With Love stamp set works perfectly in the open space, wouldn't you agree. It's such a lovely font! I think the large floral print works beautifully to continue to pull in all the shades of purple, and the butterfly adds a nice spot of complimentary color to the card.
The ribbon helps to cover up any discrepancies in the middle, as trying to get the top of the pleats to form a straight line was a bit of a challenge. This is not meant to discourage you. I only point it out as that's why a nice strip of paper or a ribbon is a great way to mask those imperfections and also bring a nice accent to the card. I would have used a ribbon or another strip of cardstock in the middle of the two pieces of DSP even if the lines had been perfectly straight. :) The original template I found had the piece of DSP 10 x 4, but I wanted a little more space at the top for the complimentary piece, so I cut it down to 10 x 3 to make it work.
Remember to redeem your $5 coupons this month if you earned some from your purchases last month. I love using coupons like this towards my essential consumables like adhesive refills, dimensionals, cardstock, etc. Every little bit helps and since these coupons are only good for the month of August, make sure to use them while you can. Happy shopping!
Gather Your Supplies:
- Labeled With Love stamp set
- Gorgeous Grape cardstock
- card base 4-1/4 x 11 scored & folded at 5-1/2
- Highland Heather cardstock
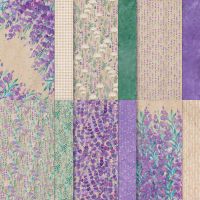
- Perennial Lavender Designer Series Paper
- 10 x 3 small floral print
- 4 x 2 large floral print
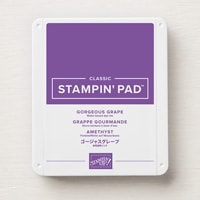
- Gorgeous Grape Classic Stampin' Pad
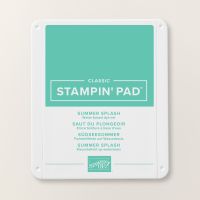
- Summer Splash Classic Stampin' Pad
- Pretty Peacock Classic Stampin' Pad
- Blending Brushes
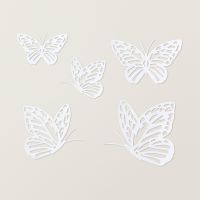
- Paper Butterfly accents
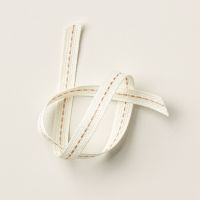
- Pecan Pie 3/8" center stripe ribbon
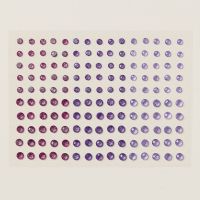
- Purple fine shimmer gems
=============================================================
Product List
=============================================================
Here's How It's Made:
With dominant print side up, mark DSP 1/2" from upper right corner, trim diagonally from 1/2" mark on upper right side to lower left corner. Starting from left edge, score at 2, 3, 5, 6, 8 & 9" marks. Fold print back towards left edge at 2" score, then accordion fold at each score line. Completed piece should be 4" wide.
Adhere folded DSP to Highland Heather cardstock panel.
Adhere Highland Heather panel to Gorgeous Grape folded card front, leaving 1/8" border at sides and bottom. Adhere large floral print DSP at top of card front, leaving 1/8" border at sides and top. Wrap ribbon over gap in center between DSP pieces, tie knot. Ink sentiment with Gorgeous Grape, stamp in lower right area below drapery folds.
Ink Blending Brush with Summer Splash, gently rub color onto paper butterfly. Ink Blending Brush with Pretty Peacock, gently rub color onto edges of wings.
Adhere butterfly to upper part of card front.
Embellish with small and large Purple fine shimmer gems.
=============================================================
Essential Tools:
These are the tools I recommend for a positive experience with all of your paper crafting projects. Having the right tools makes every project go more smoothly from start to finish.
=============================================================
=============================================================
If you've ever thought it would be fun to get great products at a discount, inspire others, be part of a crafting community and more, I encourage you to check out the benefits of being a Stampin' Up Demonstrator. Whether you want it as a hobby, a chance to have an easy store at your fingertips for you and your friends, or want to build a business, the decision is yours. Click on the button below to find out more.
I am a member of Dawn Olchefskes' DOStampers STARS community, so when you join my team, you are also part of this fabulous community where we share inspiration, creativity, support and education!
=============================================================

=============================================================
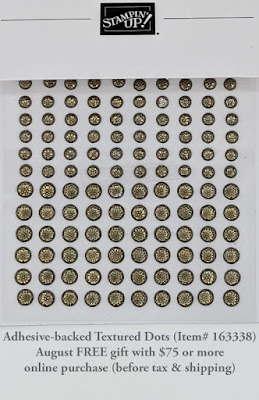
August Host Code: 6NGWUZ6N
- Place an online order of $75 or more (before tax/shipping) and earn a FREE Gift (FREE Gift sent by September 15th)
- For orders of $150 or more in my store (before tax/shipping), do not apply the Host Code. Use the Stampin' Rewards you will earn. You will receive the Host code gift from me.
- One Host code gift per customer, per month.
=============================================================
Thank you so much for stopping by! I hope you're inspired to gather your supplies and get creative!
Have a beautiful day! 😊
Beverly J





No comments:
Post a Comment