Greetings!
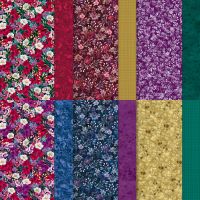
Today's card began with knowing I wanted to use a print from the Regal Winter Designer Series Paper (DSP) pack. This DSP is incredibly gorgeous with all the rich, deep colors of late fall and winter tones. I knew I had to have them the moment I saw them! I like to be efficient with my use of the prints to get the most from each sheet, and making the card a smaller size centered on a 5-1/2 x 4-1/4 cardstock panel is a great way to do this. The little splatters of gold in the background add an additional level of glitz to go with the gold edging on the ribbon and the gold flecks in the embellishments.
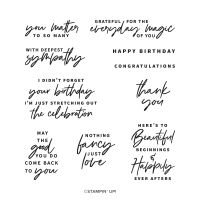
Isn't it gorgeous! The adorable flower and leafy stem fit beautifully on the label, leaving plenty of room for a simple sentiment. I selected the perfectly sized "Happy Birthday" from the Something Fancy stamp set, and cut it to fit on the label.
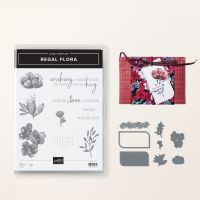
The label shape included in the Regal Flora dies is such a winner. Having opposite rounded corners with piercing around the edges and a little slit in the rounded corners makes it so unique. The size and shape give it a lot of versatility, and there's also a frame surrounding this die cut, so you have even more options available from this one die. Whoever designed this is a genius, and I am thankful for that!
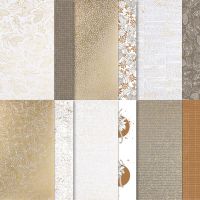
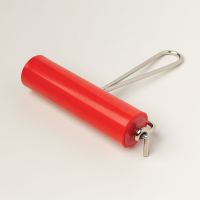
If you have black & white prints you'd like to add some color to, using the Stampin' Brayer to roll color over the print is a quick and easy way to change it to whatever color you want. There are so many amazing techniques you can do with the brayer, so if you haven't tried any, or don't have the brayer, I encourage you to add it to your cart. You'll love how many ways you can use it!
Gather Your Supplies:
- Regal Flora Bundle (Save 10% when you purchase stamp set & die with bundle item#)
- Something Fancy stamp set
- Lost Lagoon cardstock
- Basic White cardstock
- card base 7-1/2 x 4, scored and folded at 3-3/4
- 5 x 3
- Nature's Sweetness Designer Series Paper
- 5-1/4 x 4 landscape orientation of black text on white with gold foil splatters print
- Regal Winter Designer Series Paper
- 4 x 3-3/4 multicolored floral print
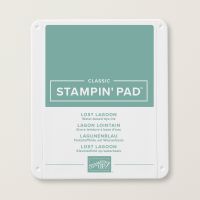
- Lost Lagoon Classic Stampin' Pad
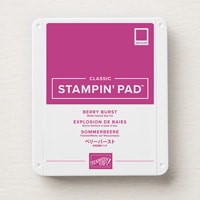
- Berry Burst Classic Stampin' Pad
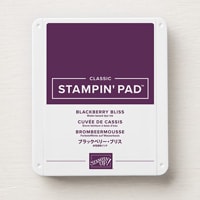
- Blackberry Bliss Classic Stampin' Pad
- Stampin' Brayer
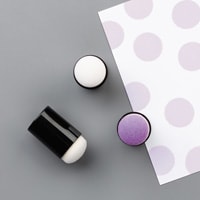
- Sponge Dauber
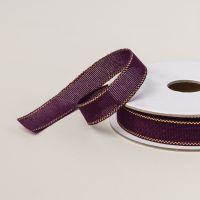
- Blackberry Bliss & Gold 1/2" Textured Ribbon - 18"
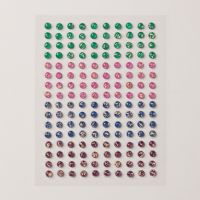
- Regal Foiled Adhesive-backed Dots
- Stampin' Cut & Emboss Machine
=============================================================
Product List
=============================================================
Here's How It's Made:
Roll Stampin' Brayer onto Lost Lagoon ink pad until completely covered. Roll onto Nature's Sweetness DSP print to color. Re-ink brayer and re-roll onto print to achieve a more evenly inked piece. Adhere to Lost Lagoon cardstock, centering.
Die cut Basic White cardstock with label die. Ink leafy stem stamp with Lost Lagoon, stamp in center of label. Ink single flower stamp with Berry Burst, then daub Blackberry Bliss ink onto bottom of some petals, stamp onto Basic White cardstock. Die cut.
Adhere Regal Winter DSP print to Basic White folded card front. Adhere die cut flower at top of leafy stem with Stampin' Dimensionals. Ink sentiment with Berry Burst, stamp onto Basic White cardstock scrap. Cut out around each word, adhere near bottom of stem with small strips of Stampin' Dimensionals. Adhere completed label to card front, slightly angled right of center. Adhere folded card to Lost Lagoon cardstock panel, centering.
Wrap Blackberry Bliss & Gold Ribbon around card front at fold, tie bow.
Embellish with Regal Foiled Adhesive-backed Dots.
=============================================================
Essential Tools:
These are the tools I recommend for a positive experience with all of your paper crafting projects. Having the right tools makes every project go more smoothly from start to finish.
=============================================================
=============================================================
If you've ever thought it would be fun to get great products at a discount, inspire others, be part of a crafting community and more, I encourage you to check out the benefits of being a Stampin' Up Demonstrator. Whether you want it as a hobby, a chance to have an easy store at your fingertips for you and your friends, or want to build a business, the decision is yours. Click on the button below to find out more.
I am a member of Dawn Olchefskes' DOStampers STARS community, so when you join my team, you are also part of this fabulous community where we share inspiration, creativity, support and education!
=============================================================

=============================================================
September Host Code: YRVKPXQM
- Place an online order of $75 or more (before tax/shipping) and earn a FREE Gift (FREE Gift sent by October 15th)
- For orders of $150 or more in my store (before tax/shipping), do not apply the Host Code. Use the Stampin' Rewards you will earn. You will receive the Host code gift from me.
- One Host code gift per customer, per month.
=============================================================
Thank you so much for stopping by! I hope you're inspired to gather your supplies and get creative!
Have a beautiful day! 😊
Beverly J





No comments:
Post a Comment