Greetings!
I recently saw a card made to look like a simple quilted panel for the focal point. After watching the video on it I realized it was way less complicated than it originally looked so I had to give it a try. It's wonderfully easy to do and looks great!
I opted to use patterns from the Poetic Expressions Designer Series Papers (DSP) because they're nice and small so they work well in small strips. The original card that I CASEd* (Copy And Share Everything) used the Softly Sophisticated embossing folder, but I thought the Quatrefoil Tile embossing folder would work well too. When choosing my DSP prints I realized the one print is also a Quatrefoil pattern so it was meant to be!
This quilted panel has a very vintage feel to it. I wanted to make sure the message continued that vibe and the gorgeous scripted font from the Go To Greetings stamp set adds just the right touch.
As you read through the instructions, you'll see it's much easier to put together than it looks. Bonus! I will say that the hardest part is trying to keep your strips from sticking before you get them woven together. I would not recommend using a liquid glue for these as it would most likely squeeze out the sides when embossing it.
*I tried to find the video I had watched quickly to reference the name of the demonstrator who I CASEd this from, and I could not find the video or her name.
Gather Your Supplies:
- Go To Greetings stamp set
- Basic White Thick cardstock
- card base 4-1/4 x 11 scored & folded at 5-1/2
- Basic Black cardstock
- 3-7/8 x 3-7/8 panel
- Basic White cardstock
- 3-3/4 x 3-3/4
- 3/4 x 3/4 (4)
- Poetic Expressions Designer Series Paper
- 6 x 1/2 strips of 4 different prints/patterns
- Tuxedo Black Memento Ink Pad
- Black & White 1/4" Gingham Ribbon - 12"
- 1 large Pebbled Path 2023-2025 In Color Dot
- Quatrefoil Tile Embossing Folder
=============================================================
Product List =============================================================
Here's How It's Made:
Score Basic White panel diagonally from corner to corner in both directions.
Apply a strip of Stampin' Seal adhesive along each scored line on both sides. When assembling strips, avoid pressing onto adhesive until all four have been woven in the middle. Line up a strip of DSP at score line, making sure strip extends beyond corners, apply one diagonally along other score line, overlapping at center. Apply another strip of DSP on other side of score line, overlapping at center, and line up last strip, slipping under one strip so the four strips are woven at center. Press down onto adhesive. It should look like this:
Trim off excess DSP at corners. Adhere the four 3/4" square Basic White pieces at each corner, even with outside edges, and inside corner should be at line where the two pieces of DSP meet.
Adhere completed panel to Basic Black cardstock panel. Adhere in upper part of Thick Basic White folded card front, approximately 1/4" from top folded edge.
Ink "Just a Note" with Tuxedo Black and stamp in remaining lower area of card base.
Wrap Black & White 1/4" Gingham ribbon around card front, tie into a knot, trim excess. Secure knot with a mini glue dot.
=============================================================
Essential Tools:
These are the tools I recommend for a positive experience with all of your paper crafting projects. Having the right tools makes every project go more smoothly from start to finish.
Product List
=============================================================
What's Sale-a-bration you ask?
Sale-a-bration is the time of year when EVERYONE has the opportunity to earn FREE product! For every $50 in purchased product you may select from the fabulous Sale-a-bration items for FREE. These items include beautiful Designer Series Papers, adhesive-backed gems, stamp sets, dies, stamp set & die bundles and stamp set & embossing folder bundles. Many of these products coordinate with items from the current annual and mini catalogs for even more creative options.
=============================================================
=============================================================
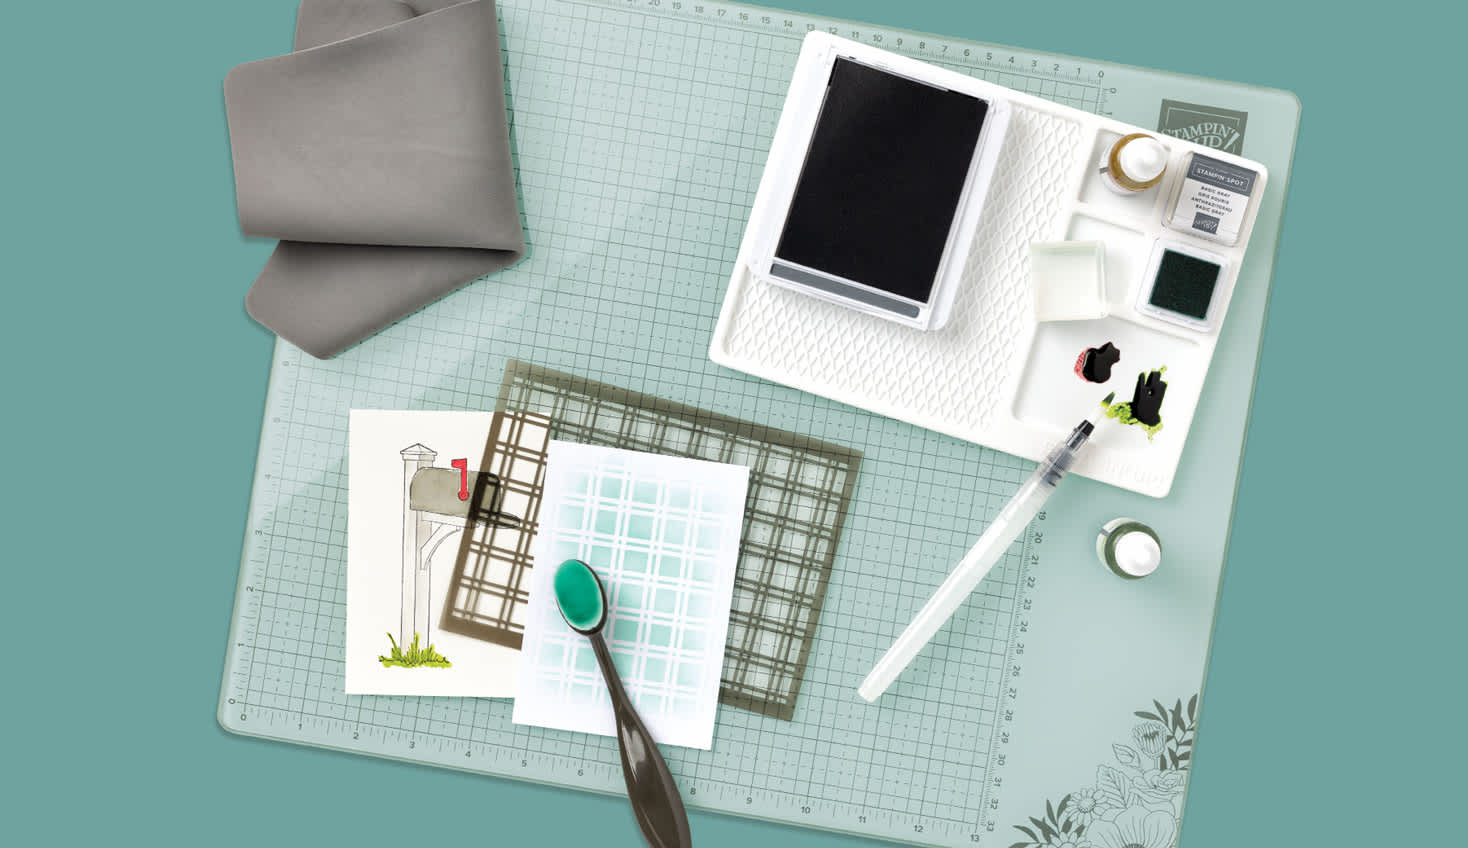
Sale-a-bration time is a fantastic time to join! During Sale-a-bration you not only get to choose your Starter Kit of $125 in product for only $99, you get the added bonus of two choices: The Stampin' Glass Mat Studio (retail value $60) for FREE. Includes 17" x 14" safety-tempered glass crafting mat, 8-3/8" x 6" nonslip, silicone mat and 8-1/4" x 8-1/4" reusable cleaning cloth.
or an additional $30 in FREE product of your choice added to your Starter Kit.
I LOVE being a Stampin' Up! Demonstrator for a variety of reasons! If you love stamping and sending cards, getting together with friends and being creative, want a way to reach out to your community, earn some money doing something you love, or any combination of these things, and more, now is a great time to join!
I am a member of Dawn Olchefske's DOStampers STARS community, so when you join my team, you are also part of this fabulous community where we share inspiration, creativity, support and education, as well as a whole new group of crafting friends!
=============================================================
=============================================================
February Host Code: F2NMGEXV
- Place an online order of $65 or more (before tax/shipping) and earn a FREE Gift (FREE Gift sent by March 15th)
- For orders of $150 or more in my store (before tax/shipping), do not apply the Host Code. Use the Stampin' Rewards you will earn. You will receive the Host code gift from me.
- One Host code gift per customer, per month.
=============================================================
Thank you so much for stopping by! I hope you're inspired to gather your supplies and get creative!
Have a beautiful day! 😊
Beverly J


No comments:
Post a Comment