Greetings!
Today's card features a couple of techniques that I haven't done in quite some time. Stamping onto ribbon and using a Stampin' Spritzer.
The Perennial Lavender Designer Series Papers (DSP) have the most gorgeous prints, and most of them have a Crumb Cake base with splatters of color on it. I wanted to emulate that a bit and knew the Stampin' Spritzer was the way to go. It took me a few tries to get what I wanted. I first filled the spritzer with some water and added the Fresh Freesia ink refill drops, but it got too wet and warped. As I said, it's been quite awhile since I've used the spritzer. I remembered that isopropyl alcohol is what should be used as it dries much quicker and doesn't warp and ripple the cardstock. I added a few drops of the ink, spritzed, not enough, added a few more drops of ink, spritzed, and could see enough of a color change that I knew it would add richness and depth to the Crumb Cake cardstock to more closely match the background color in the DSP.
The Dainty Delight dies have wonderfully delicate stem and leaf dies which are similar to some of the plants from the Perennial Lavender DSP prints. Now I had everything I needed to give myself a good creative jumping off point. After assembling my flower onto the spritzed Crumb Cake cardstock and choosing which print to use for the background, I simply had to fill in the layers to pull it all together. When it came to the greeting I wanted to do something that seemed a little softer than a bright white cardstock strip so I decided to stamp the greeting onto the 3/4" Herringbone ribbon, and that worked perfectly!
Here's how it all came together:
Gather Your Supplies:
- Dainty Delight stamp set
- Dainty Delight dies
- Pretty Peacock cardstock
- card base 4-1/4 x 11 scored & folded at 5-1/2 OR 5-1/2 x 8-1/2 scored & folded at 4-1/4
- Pecan Pie cardstock
- Pool Party cardstock
- 5 x 1-3/4 - tear short ends so finished size is approximately 4-1/4 x 1-3/4
- Crumb Cake cardstock
- Lost Lagoon
- Basic White
- Perennial Lavender Designer Series Paper
- 5-3/8 x 4-1/8 scattered branches print
- Pretty Peacock Classic Stampin' Pad
- Fresh Freesia ink refill
- Stampin' Spritzer
- 3/4" Herringbone ribbon - 6"
- Adhesive Sheets - 2-1/4 x 2
- Neutrals adhesive-backed sequins
- Pastel adhesive-backed sequins
- Other - isopropyl alcohol
=============================================================
Product List
=============================================================
Here's How It's Made:
Adhere DSP print to Pretty Peacock folded card front. Adhere torn edge Pool Party cardstock 3/8" from left edge of Pecan Pie cardstock, adhere assembled layers to card front, 3/8" from left edge, centering top and bottom.
Fill Stampin' Spritzer 1-1/2" with isopropyl alcohol, add 10-15 drops of Fresh Freesia ink refill. Hold Crumb Cake cardstock inside a sink or laundry tub. With Stampin' Spritzer held 12-15" from cardstock, spray 3-4 times to lightly mist entire piece of Crumb Cake cardstock. Allow to dry.
NOTE: I've photographed the spritzed Crumb Cake against Crumb Cake cardstock so you can see the change of color in the spritzed piece.
Apply adhesive sheet to Lost Lagoon cardstock. Die cut 1 stem and both sets of small double-leaf dies. Die cut hydrangea blossom from Basic White cardstock. Assemble stem, leaves and blossom, adhere onto spritzed Crumb Cake cardstock. Adhere Basic White cardstock strip over bottom of stem with left edge at left edge of Crumb Cake cardstock. Right edge will extend beyond piece 1-1/4"
Ink "Thank you for your kindness" with Pretty Peacock, stamp onto 3/4" Herringbone ribbon, leaving room at each end of ribbon for wrapping around cardstock.
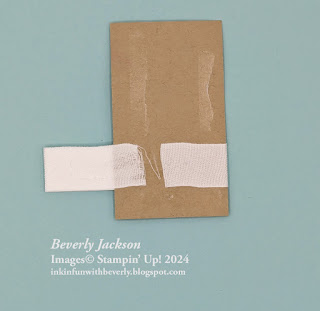
Apply adhesive to back of Crumb Cake flower panel and back of Basic White strip. Position stamped ribbon on front of Basic White cardstock, wrap left edge around to back, secure firmly onto adhesive. Lay piece front face down, pull ribbon taut across front, wrap right edge around to back, secure firmly onto adhesive.
Adhere completed layer to card base, with extended ribbon edge lining up evenly with right edge of DSP panel.
Embellish with copper and blue adhesive backed sequins.
=============================================================
Essential Tools:
These are the tools I recommend for a positive experience with all of your paper crafting projects. Having the right tools makes every project go more smoothly from start to finish.
Product List
=============================================================
What's Sale-a-bration you ask?
Sale-a-bration is the time of year when EVERYONE has the opportunity to earn FREE product! For every $50 in purchased product you may select from the fabulous Sale-a-bration items for FREE. These items include beautiful Designer Series Papers, adhesive-backed gems, stamp sets, dies, stamp set & die bundles and stamp set & embossing folder bundles. Many of these products coordinate with items from the current annual and mini catalogs for even more creative options.
=============================================================
=============================================================
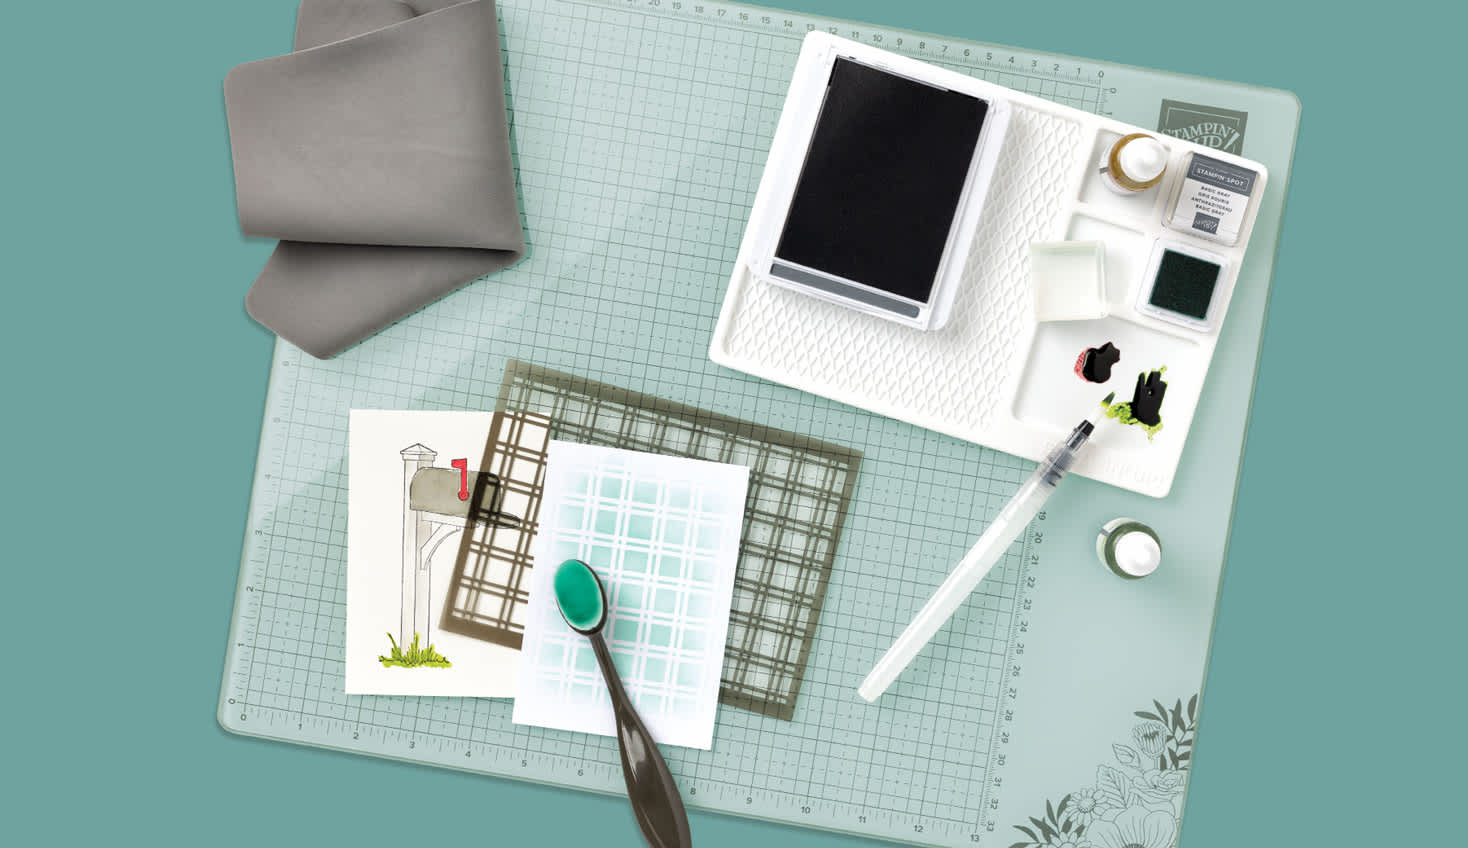
Sale-a-bration time is a fantastic time to join! During Sale-a-bration you not only get to choose your Starter Kit of $125 in product for only $99, you get the added bonus of two choices: The Stampin' Glass Mat Studio (retail value $60) for FREE. Includes 17" x 14" safety-tempered glass crafting mat, 8-3/8" x 6" nonslip, silicone mat and 8-1/4" x 8-1/4" reusable cleaning cloth.
or an additional $30 in FREE product of your choice added to your Starter Kit.
I LOVE being a Stampin' Up! Demonstrator for a variety of reasons! If you love stamping and sending cards, getting together with friends and being creative, want a way to reach out to your community, earn some money doing something you love, or any combination of these things, and more, now is a great time to join!
I am a member of Dawn Olchefske's DOStampers STARS community, so when you join my team, you are also part of this fabulous community where we share inspiration, creativity, support and education, as well as a whole new group of crafting friends!
=============================================================
=============================================================
February Host Code: F2NMGEXV
- Place an online order of $65 or more (before tax/shipping) and earn a FREE Gift (FREE Gift sent by March 15th)
- For orders of $150 or more in my store (before tax/shipping), do not apply the Host Code. Use the Stampin' Rewards you will earn. You will receive the Host code gift from me.
- One Host code gift per customer, per month.
=============================================================
Thank you so much for stopping by! I hope you're inspired to gather your supplies and get creative!
Have a beautiful day! 😊
Beverly J


No comments:
Post a Comment