Greetings!
My latest goal has been to use the Pick of the Patch builder punch so I started punching out some of the pumpkins with the intent of somehow stacking them and making it into a cute card. As I looked at the shapes of the punched pumpkins I started seeing how they could work as petals for a flower and I ended up going in a completely different direction. I rarely have the eye to be able to see the punch shapes for things other than what they are intended so this has been a new fun experience for me.
I completely flipped my color scheme as well. I originally was working with fall colors of oranges, yellows and reds, but the more I played with the flower idea the more I wanted to use a non-traditional color combination for the flower. I was struggling a bit with what type of card base I wanted to use and I thought I'd like to do a little pop-up tent card so I cut a piece of Mossy Meadow cardstock to be a 4-1/4 square after it was scored and folded. It wasn't working for me so I pulled a piece of Coastal Cabana that was 4-1/4 x 5-1/2, slid it inside the Mossy Meadow card, let a little peak out of the left and the rest out the right side, and that's how it ended up.

I had to incorporate circles for the center of the flower and thank goodness for the Stylish Shapes dies. They have a wonderful variety of circle sizes so choosing a couple for the flower center was easy. What I love is the addition of the half circle for the "Thank You"! How fun is that! The Phrases for All stamp set has wonderful large sentiments and great little messages to use inside, so it was my choice to complete this card. Make sure you scroll down to check out the inside of the card 😁
This card reminds me of something I would have seen in the '70's with the simple flower and the color combination. Whether you choose this color scheme or a different one for your card, I hope you enjoy creating flowers with the Pick of the Patch builder punch. Even though I only used the punch for this card, I highly recommend getting the Pick of the Patch bundle so you have the adorable stamp set that goes with this punch. Plus, you always get a 10% savings when you purchase with bundle item #.
Check out my previous blog post to see a card using the Pick of the Patch stamp set, and the blog dated September 18th uses the entire Pick of the Patch bundle. It's a wonderfully versatile bundle.
Gather Your Supplies:
- Pick of the Patch Bundle (Save 10% when you purchase stamp set & punch with bundle item#)
- Phrases for All stamp set
- Mossy Meadow cardstock
- card base 4-1/4 x 8-1/2 scored & folded at 4-1/4
- Lemon Lime Twist cardstock
- Old Olive cardstock
- Coastal Cabana cardstock
- 5-1/2 x 4-1/4
- 2-3/4 x 2-3/4
- scrap for 7/8" circle die
- Basic White cardstock
- Pretty Peacock cardstock
- scrap for 1-3/4" circle die
- Mossy Meadow Classic Stampin' Pad
- Ombre Matte Decorative Dots
=============================================================
Product List
=============================================================
Here's How It's Made:
Punch out five big pumpkins from Lemon Lime Twist cardstock. Punch out five small pumpkins from Old Olive cardstock. Die cut 1-3/4 circle from Pretty Peacock cardstock and 7/8 circle from Coastal Cabana cardstock. Here is what you should have:
Assemble flower petals by adhering Old Olive to Lemon Lime Twist as shown below.
Die cut 2" circle from Basic White cardstock.
Adhere the five assembled petals evenly spaced around the 2" Basic White circle. Snip off any of the white that shows in between the petals. Adhere Pretty Peacock circle in center using Stampin' Dimensionals. Adhere Coastal Cabana circle to center of Pretty Peacock circle.
Die cut 2-5/8" circle from
Coastal Cabana cardstock. Cut circle in half. Ink "Thank You" with
Mossy Meadow, stamp onto half circle with "Thank" at flat edge. Adhere to left at top folded edge of
Mossy Meadow card base. Adhere flower below and right of "Thank You" half circle, with right hand petals extending over right edge.
Trim a sliver (1/16") off one long edge of the Coastal Cabana piece so it fits better inside the card base. Adhere Coastal Cabana cardstock panel to inside of Mossy Meadow card base, with 1-/4 extending at left edge and the remaining 1" extending at right edge.
Embellish with large and small Coastal Cabana and Old Olive Matte Decorative Dots.
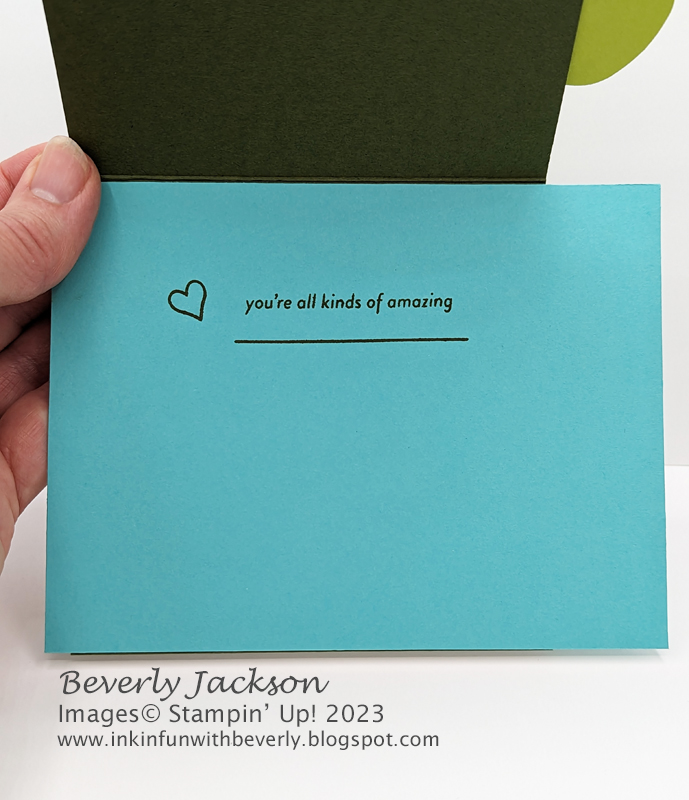
Here's what the inside looks like:
Position line stamp on lower half of clear block, leaving room to position "you're all kinds of amazing" above it on the block. It's much easier to stamp the line stamp when it is paired with other stamps. Position heart outline stamp to left. Ink with Mossy Meadow, stamp on Coastal Cabana panel, centering.
I hope you enjoyed this new way to use the pumpkin punch shapes and a little bit different way of having your card assembled and open.
=============================================================
Essential Tools:
These are the tools I recommend for a positive experience with all of your paper crafting projects. Having the right tools makes every project go more smoothly from start to finish.
Product List
=============================================================
=============================================================
I LOVE being a Stampin' Up! Demonstrator for a variety of reasons! If you love stamping and sending cards, getting together with friends and being creative, want a way to reach out to your community, earn some money doing something you love, or any combination of these things, and more, now is a great time to join!
I am a member of Dawn Olchefske's DOStampers STARS community, so when you join my team, you are also part of this fabulous community where we share inspiration, creativity, support and education, as well as a whole new group of crafting friends!
=============================================================
October Host Code: PGGUU2TE
- Place an online order of $65 or more (before tax/shipping) and earn a FREE Gift (FREE Gift sent by November 15th)
- For orders of $150 or more in my store (before tax/shipping), do not apply the Host Code. Use the Stampin' Rewards you will earn. You will receive the Host code gift from me.
- One Host code gift per customer, per month.
=============================================================
Thank you so much for stopping by! I hope you're inspired to gather your supplies and get creative!
Have a beautiful day! 😊
Beverly J


")
")


No comments:
Post a Comment